
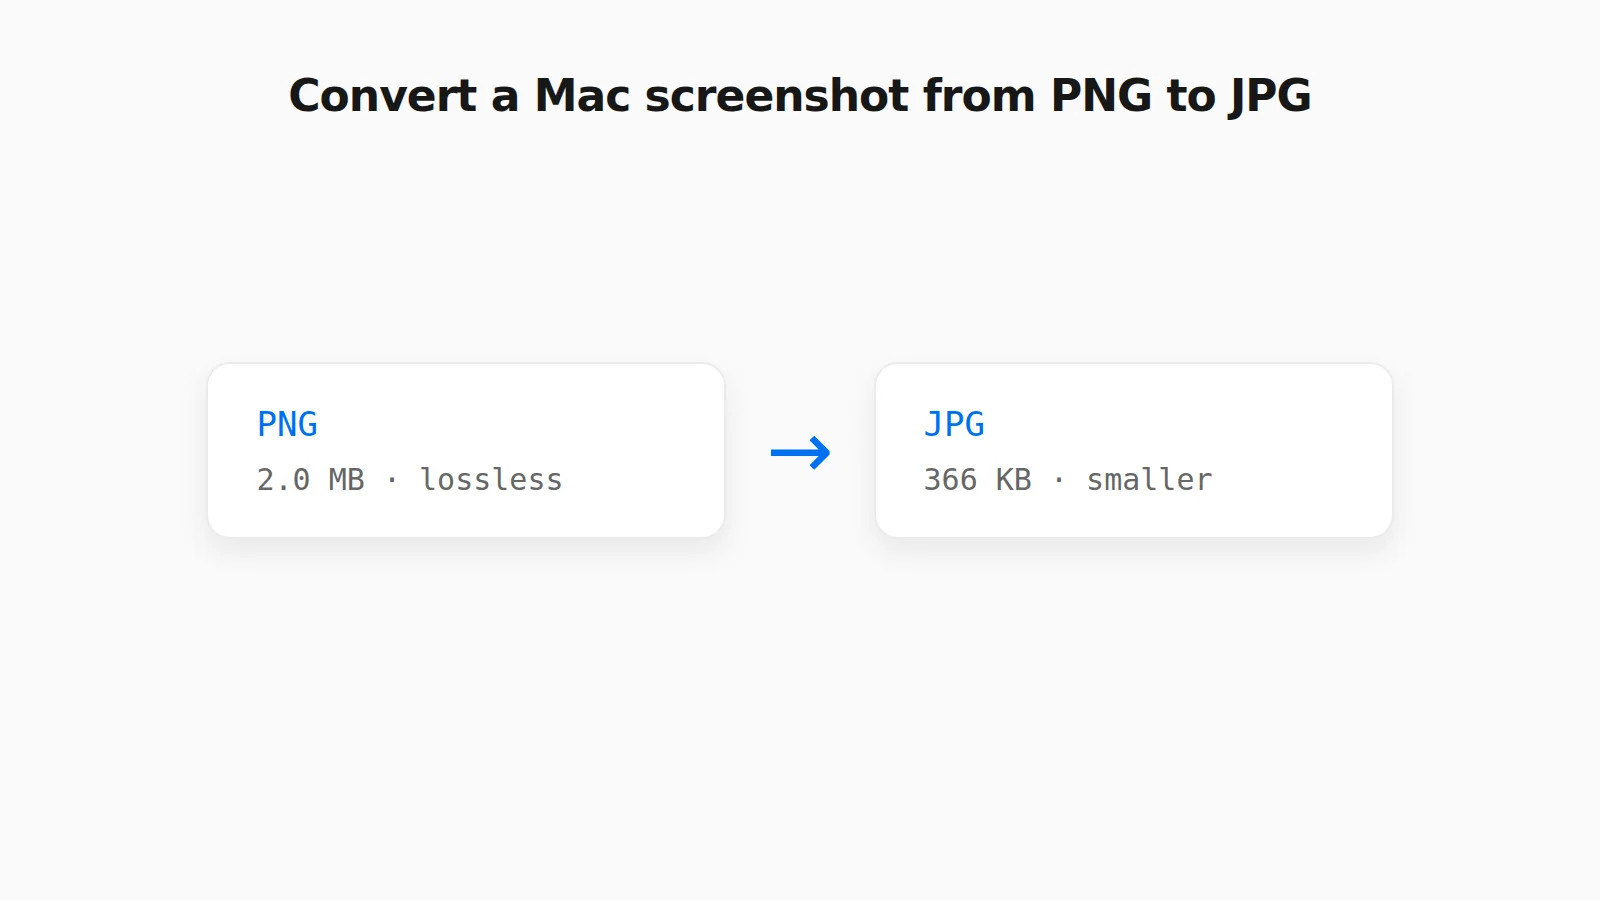
How to Convert a PNG Screenshot to JPG on Mac (4 Ways)

Every screenshot a Mac saves is a PNG. PNG is lossless, which keeps text crisp, but it also means a single full-screen capture can weigh several megabytes. When a form only accepts JPG, an email is bouncing, or you simply want a smaller file, you need a JPG. Here are four ways to get one on a Mac, from the built-in tools to a browser, and when each one makes sense.
Why Mac Screenshots Are PNG
PNG compresses without losing any pixel data, which suits screenshots full of text, lines, and flat colors. The cost is size, particularly for busy content like gradients, photos, or video frames. JPG throws away detail the eye is less likely to notice, so the same image is usually far smaller. If you want to understand that tradeoff first, read PNG vs JPG vs WebP with real file sizes.
Method 1: Preview (Built In, One File at a Time)
- Double-click the screenshot to open it in Preview.
- Choose File → Export.
- Set Format to JPEG. A Quality slider appears.
- Drag the slider to the quality you want, choose a name and folder, and click Save.
Preview is the best built-in choice when you care about the quality setting, because it is the only method here that gives you a slider. It saves a new file and leaves the original PNG alone.
Method 2: The Finder Convert Image Action (Several Files at Once)
On macOS Ventura and later, Finder can convert files without opening an app:
- Select one or more screenshots in Finder.
- Right-click and choose Quick Actions → Convert Image.
- Choose JPEG as the format and an image size, such as Actual Size.
- Click Convert. The JPG copies appear next to the originals.
This is the fastest route for a folder of existing screenshots. If your macOS version does not show the action, use Preview instead: open all the files, press Cmd+A in the sidebar, and choose File → Export Selected Images.
Method 3: Make the Mac Save Screenshots as JPG From Now On
If you never want PNGs, change the default format. Open Terminal and run:
defaults write com.apple.screencapture type jpg
killall SystemUIServer
Every new screenshot is now a JPG, with no conversion step. To switch back, run defaults write com.apple.screencapture type png and killall SystemUIServer. This only affects captures made after the change, and it applies to everything, including screenshots of text where PNG would look sharper. If you also want to change the folder, see where Mac screenshots go and how to change the location.
Method 4: Paste It Into a Browser Tool
This method works even when the screenshot was never saved as a file. Take a clipboard-only capture with Cmd+Ctrl+Shift+4, open PasteDownloadApp, press Cmd+V, and switch the format to JPEG. The conversion happens in your browser, so the image is not uploaded anywhere.
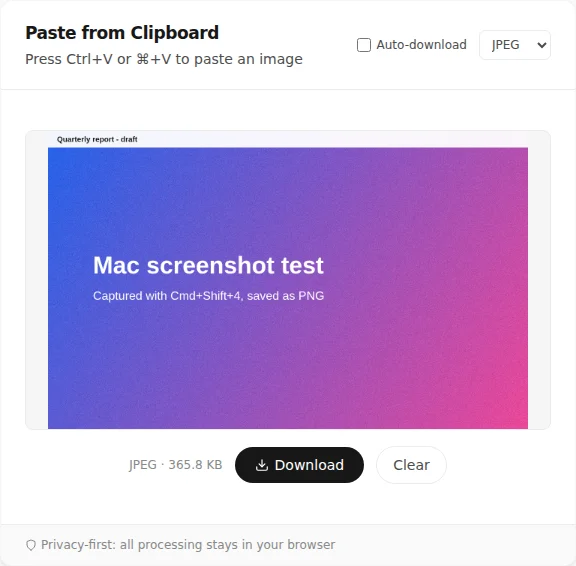
In a test with a 1280×800 gradient image, the PNG was 2.0 MB and the JPEG was 365.8 KB. That is an example, not a promise, since flat interface screenshots shrink by less. JPEG quality in the tool is fixed at 92% and transparent areas are filled with white. The full set of tested sizes, plus the tool's quirks, is in how to convert a screenshot to JPG, PNG, or WebP.
Which Method Should You Use?
- One file, and quality matters: Preview, for the quality slider.
- A folder of existing screenshots: the Finder Convert Image action.
- You always want JPG: the Terminal default.
- The screenshot is on the clipboard, or you are on someone else's Mac: the browser tool.
When Not to Convert to JPG
Keep the PNG if the screenshot is mostly text, a code editor, or a user interface you will zoom into, because JPEG compression can leave faint smudges around sharp edges. Keep it as well if it has transparency you need. Converting a JPG back to PNG will not restore lost detail either, so keep the original PNG if you might need it again. For web use, image compression quality settings explains how much quality you can give up before it shows.
Frequently Asked Questions
Can a Mac save screenshots as JPG by default?
Yes. Run defaults write com.apple.screencapture type jpg in Terminal, then killall SystemUIServer. Every new screenshot is saved as a JPG until you switch back with type png.
Does converting a PNG screenshot to JPG lose quality?
Yes, a little. JPG uses lossy compression, so each conversion discards some detail. Photos and gradients usually look fine, but text and sharp interface edges can pick up faint blurring, especially at lower quality settings.
How do I convert several screenshots to JPG at once on Mac?
Select the files in Finder, right-click, and choose Quick Actions → Convert Image, then set the format to JPEG. On older macOS versions, open them all in Preview, select every thumbnail in the sidebar, and use File → Export Selected Images.
What happens to transparency when I convert a PNG to JPG?
JPG cannot store transparency, so transparent areas are flattened onto a solid background. PasteDownloadApp fills them with white. If you need to keep transparency, use PNG or WebP instead.
Related Guides
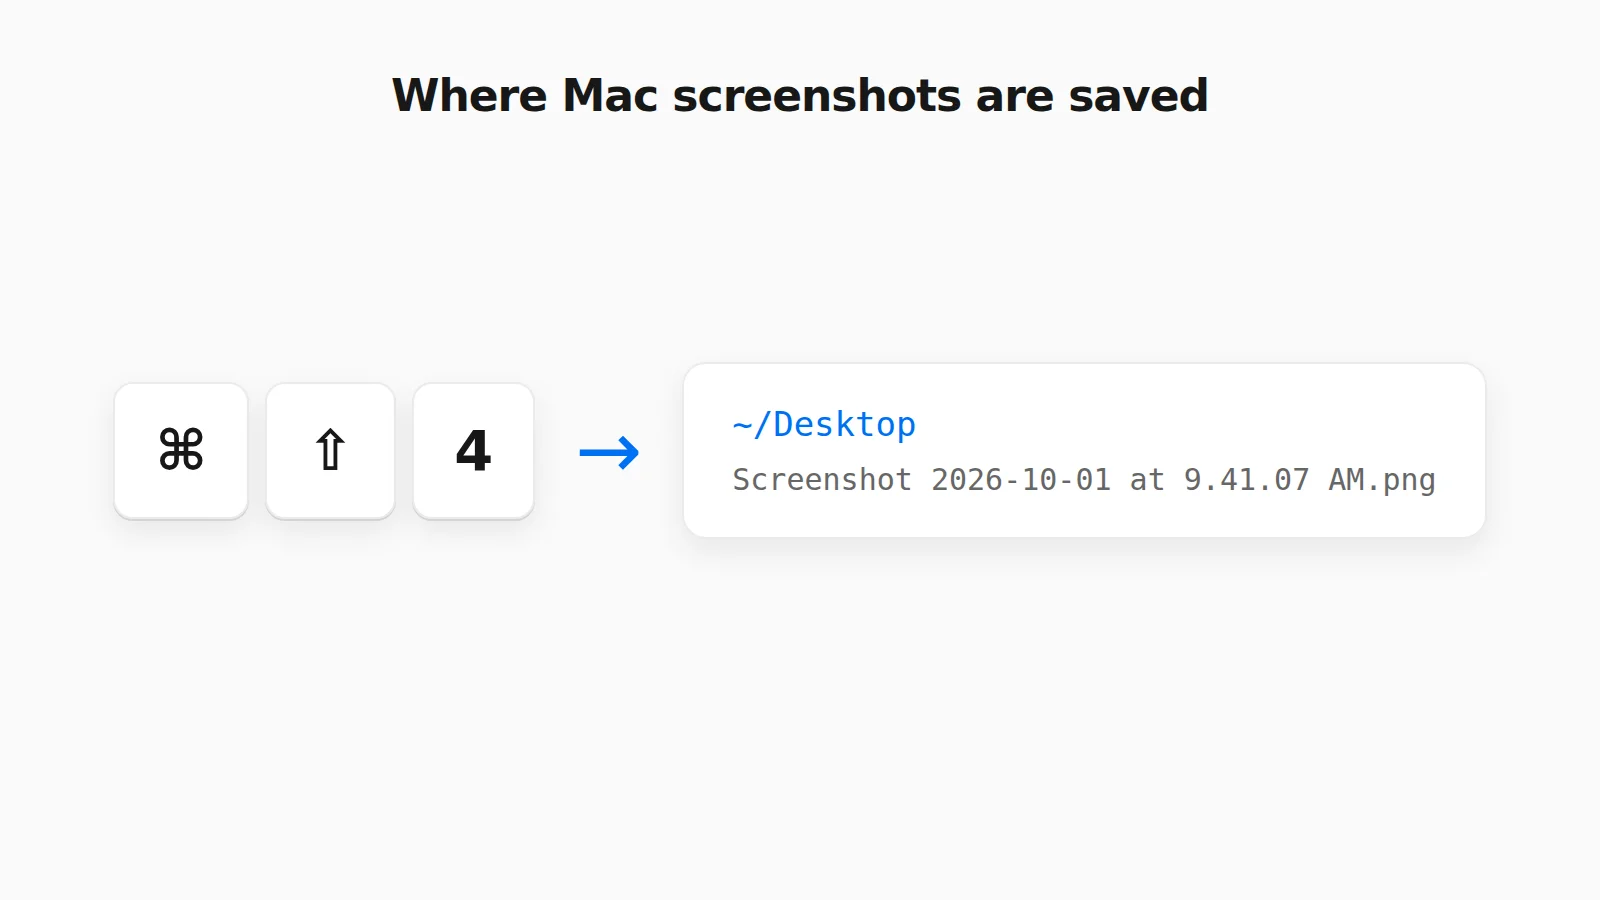 Where Do Screenshots Go on Mac? How to Find Them and Change the Folder Mac screenshots save to the Desktop by default, but not always. Find a missing one, change the folder, or rescue a clipboard-only capture.
  PNG vs JPG vs WebP: Real File Sizes Compared PNG vs JPG vs WebP for quality, transparency, and file size, backed by real measured results, not general claims.
 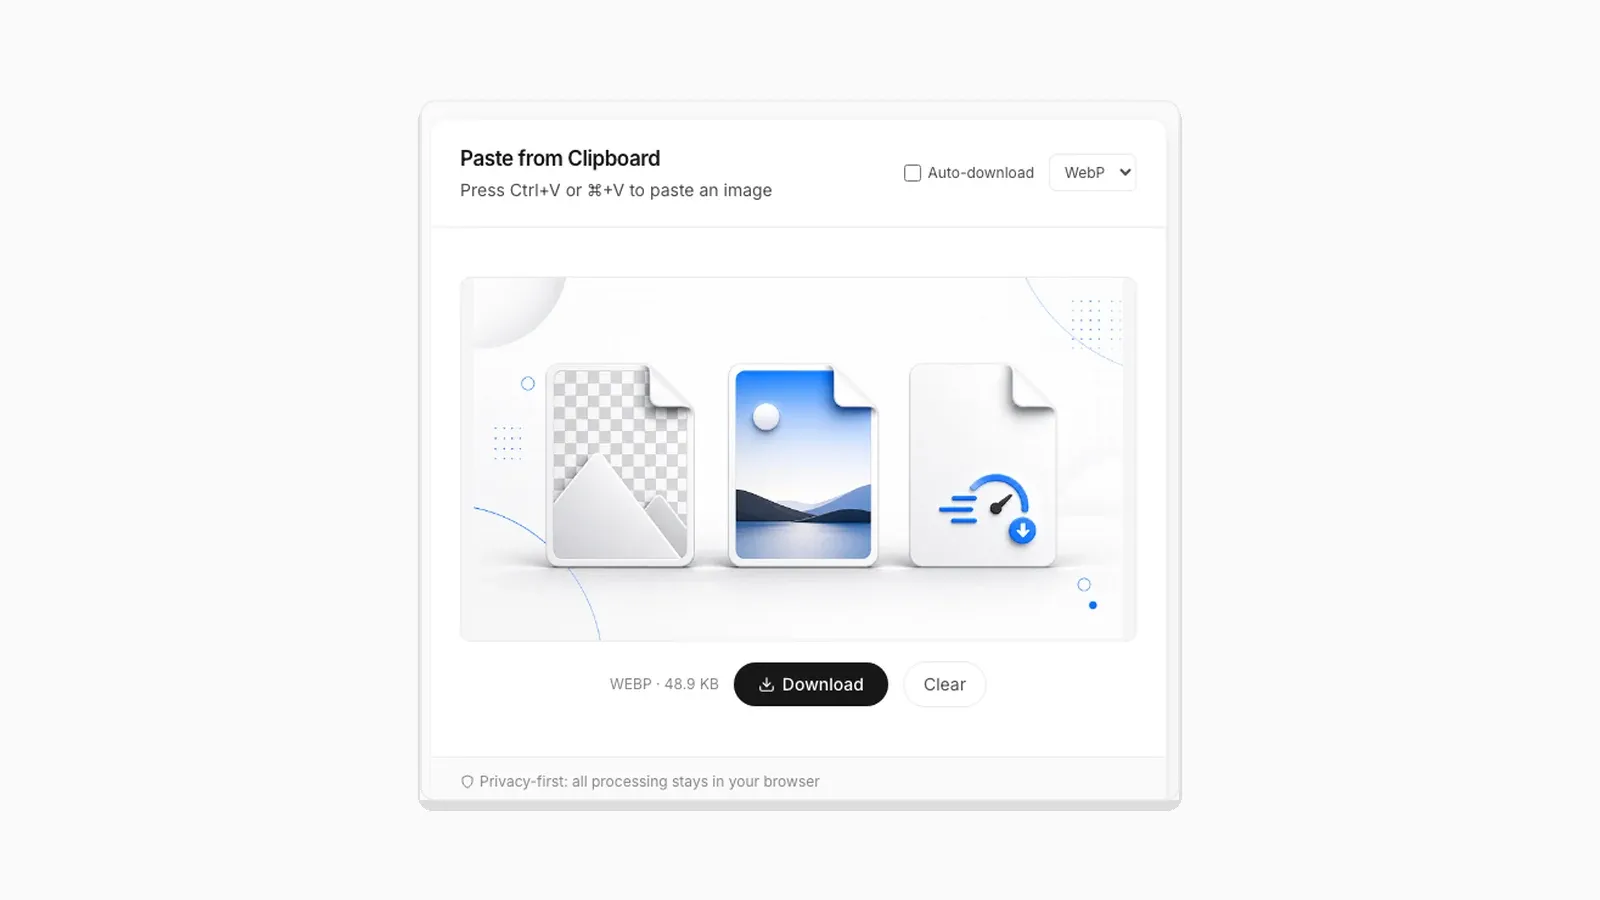 Image Compression Quality Settings Explained, With Real File Sizes What a JPEG or WebP quality number actually changes, shown with real before-and-after file sizes.